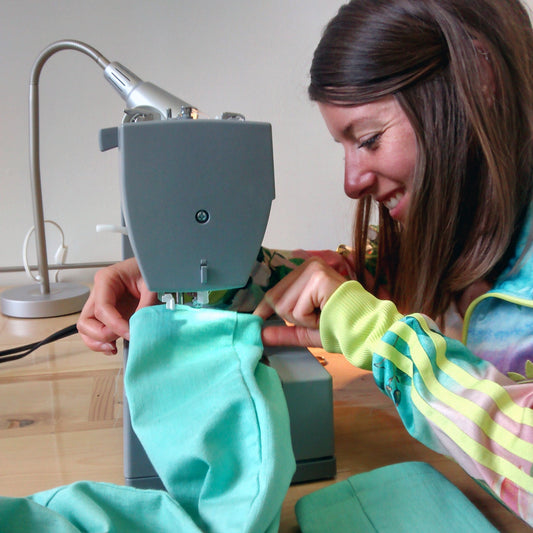
Make a pencil case
You will need:
- Our pencil case pattern ( download HERE )
- 20cm of relatively stiff fabric for the exterior of the pencil case
- 20cm of fabric for the lining
- 2 small scraps of leather
- 1 x 10 inch clasp
1- Place the clasp so that the right side of the clasp is positioned against the right side of the fabric, and the right side of the lining against the wrong side of the clasp. The clasp should be sandwiched between the two layers. Insert the decorative leather strips on the right side of the clasp at both ends, making sure that the metal stops of the clasp are hidden by the pieces of leather... we want it to look nice :)

2- Assemble the clasp in place. To do this, you will need to use the clasp foot and sew a straight seam from one end of the pencil case to the other. Remember to lift the foot and move the slider back when you cross it! The seam should be 3mm from the spiral to allow the slider to move freely.

3- Fold the lining and fabric pieces back on themselves so that the latter are positioned wrong sides together. Topstitch the fabrics in place at a distance of 2mm from the fold. This stitching will hold the fabrics and prevent them from getting stuck when you use your pencil case :)

4- Repeat steps 1, 2 and 3 for the other side of the clasp!

5- Fold the fabric and lining pieces back on themselves so that each one is right side against right side. Go to the sewing machine, remove the clasp foot and put the presser foot back on! Assemble the bottom of the fabric chest using a straight seam at a distance of 1cm, from one end of the fabric to the other. Repeat the same step for the lining, taking care to leave a 10cm opening in the center of the lining... we will need it later to turn the project on itself :)

6- Go to the iron and press the seam allowances open for the bottom fabric pieces of the chest, as well as for the lining.

7- Now we're going to assemble the sides! Place the 4 layers of fabric on each side, including the lining pieces, together. The ends of the clasp should be positioned against the right side of the fabric, sandwiched between the fabric and lining pieces. The side seams should all be aligned and the sides should be edge to edge.
8- Assemble the sides using a straight seam, respecting a seam allowance of 1cm!

9- Once the seams on each side are completed, turn the chest inside out by inserting the project inside the opening left in the lining piece during step number 5!

10- Now all that's left is to assemble the corners :) To do this, overlap the 4 layers of fabric of each corner together and assemble the corners respecting a seam allowance of 1cm. For more precision, you can draw a line with a ruler. The distance between the ends of the fabric corners should be 6cm. The distance between the middle seam and each corner should be 3cm.

11- Overlock the seam allowance as it may fray! Trim the threads as needed for a cleaner finish :)

12- Final pressing :) And there you have it!