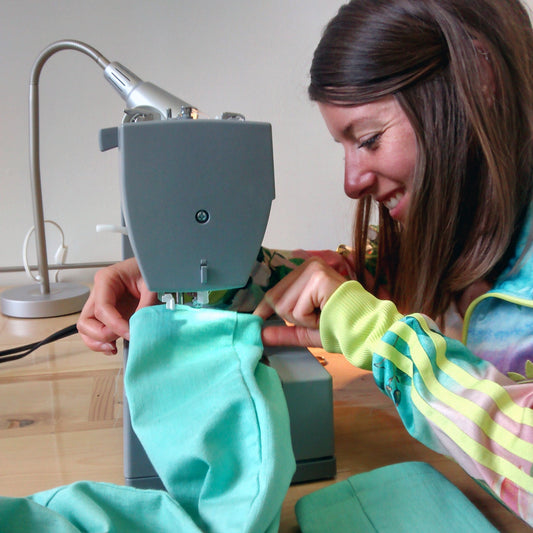
You will need:
- Our beach hat pattern ( download HERE )
- 50cm of relatively stiff fabric for the outside of the hat
- 50cm of fabric for the lining (ideally cotton)
- 50cm of semi-rigid interfacing
1- The first step will be to interface the hat flap to make them more rigid. Depending on the thickness of the fabric, you can interface only the fabric, as in our sample. For more rigidity (and to make assembly easier) you can also interface the lining of the flap. You will then need to cut 4 pieces of interfacing instead of 2! Afterwards, you can assemble the 2 pieces of fabric of the flap together to form a circle. You will then need to repeat the same steps for the lining. Press the seam allowances open to avoid creating thicknesses.
2- Position the lining flap against the flap and fabric right sides together, taking care to respect the notches and to align the edges of the fabrics and the side seams. Assemble the entire outline of the flap using a straight stitch and respecting a seam allowance of 1cm. Reduce the seam allowance to 5mm.
3- Turn the hat flap over on itself so that it is right side out and press. Make sure to bring out the seam all the way around the hat so that the curve is nice and round! Topstitch the edge of the flap with a straight stitch at a distance of 2mm from the edge of the flap.
4- Next, you will need to make decorative topstitching at a distance of 3cm from each other. For more precision, use the straight guide; a small metal rod that usually comes with your machine. The latter is inserted into the base of the foot and is very useful for maintaining a constant distance between seams... especially when the distance is large and our guides are hidden by the fabric!
5- Go to the ironing board and press the flap so that it is flat! This is the time to look at our beautiful seams... or to rectify the situation :)
6- Assemble the part of the hat that will go around your head! To do this, fold the piece in 2, right sides together, and assemble the sides using a straight seam, respecting a seam allowance of 1cm. Repeat the same steps for the lining, taking care to leave an opening. This will allow us to turn the hat inside out when all the other pieces are assembled :)


7- Position the top of the hat on the height of the hat right sides together! Pin the outline remembering to respect the notches and distributing the fabric equally over the entire circumference of the hat. Avoid placing the pins by gradually going around the hat from right to left. It is better to place the pins by dividing the measurements in two (one pin at the notch, one pin at the notch opposite, one pin at half the distance between the two notches, another pin at half the distance between the 2 notches opposite, one pin in the center of the last 2 pins, etc.) You may have the impression that the top of the hat is bigger... it is not! This is an illusion caused by the fact that we have to sew a round shape on a straight shape... the seam length is exactly the same. If you have difficulty, you can make a gathering thread around the edge of the top of the hat and pull a little. This will stabilize the curve of the hat top and make it easier to pin the pieces together :)

8- Assemble the top of the hat with a straight stitch, respecting a seam allowance of 1cm. Repeat the same operation for the lining.
9- Assemble the hat flap against the rest of the hat that we just assembled, fabric against fabric. Pin the edge and assemble at 1cm.
10- Fully insert the hat assembled in the last step into the lining hat top. The right side of the lining flap should be against the right side of the lining hat top. Pin the edge as in the previous step and sew 1cm around the entire circumference.
11- Turn the hat inside out by inserting the hat inside the opening left in the lining... and there you have it! All you have to do now is make a few hand stitches inside the lining (at the top of the hat) to prevent the lining from moving and to close the opening.
Now you have a nice beach hat to protect you from the sun :)


