Make a bow tie
You will need:
- 2 strips of fabric, 10 cm long by 110 cm wide. We recommend lightweight, printed fabrics. Silky if you're handy... and small, easy-to-handle cotton canvases if you're a beginner! You can also easily reuse old scarves, coupons, and vintage fabric scraps :)
- Our pattern to print here

1- Trace and cut the 2 pieces of fabric and the 2 pieces of lining that will make up the bow tie.
2- Place a piece of fabric and a piece of lining right sides together and pin the outline so that everything holds in place.
3- Press the seam allowance of the end of the bow tie to a width of 1cm. This preparation will allow us to have a more beautiful result:

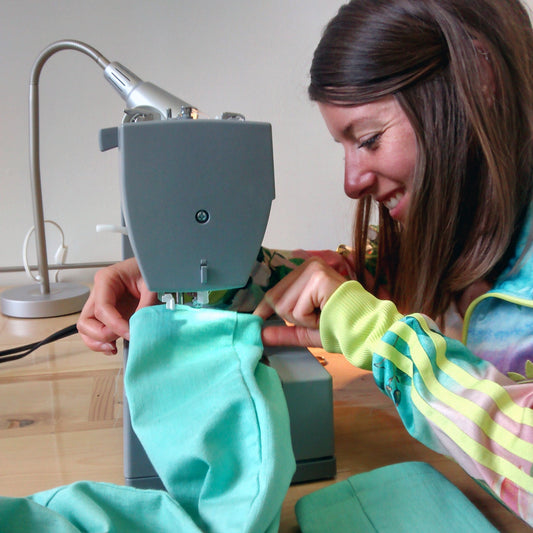
4- Assemble the pieces of the bow tie using a straight stitch machine, respecting a seam allowance of 1cm.
5- Reduce the seam allowances by half to remove any thickness that could be a nuisance.
6- Press a chopstick against the right side of the bow tie tip and push to turn the piece right side out. Roll the tip of the bow tie over itself to create a nice corner.

7- Press the bow tie... this step is crucial :)
8- Thread a needle and close the remaining opening with a slip stitch.
9- Tie the bow tie and try it on to confirm the position of the snap fastener... place the snap fastener by hand!