In this sewing tutorial, we'll show you how to sew a skirt with an elastic waistband and pockets, and show you lots of sewing tips for beautiful finishing touches.
You will need:
Women's skirt (depending on the desired length)
In a 150cm fabric: 1.5 meters
Skirt for little girl (depending on the desired length)
The pattern we are sharing with you is one size fits all. The women's pattern was designed for a person measuring 1m75 with 92cm hips. You will therefore need to adjust the width and height of the skirt in relation to your measurements. To do this, you will only need to cut on the "shorten or lengthen here" lines that we have drawn for this purpose and put sticky tape to stabilize your modifications in place. For more details on this pattern adjustment technique, we advise you to visit the Couture Stuff website.
Assembly
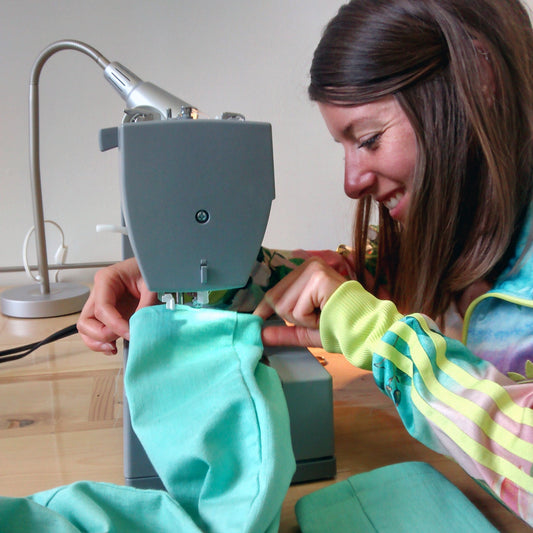
We have prepared a short video so you can sew this project with us from the comfort of your home :) We strongly recommend you to refer to it because we explain each step and give lots of tips to make nice finishes and avoid problems :) The steps are the same for making a skirt for women or girls! Only the size of the pattern will change :)
Anyway, here are the assembly steps to create your skirt!
The first step is to assemble the side seams! To do this, place the front and back of the skirt right sides together and assemble the fabrics together, respecting a seam allowance of 1cm.
Overlock the fabric with a three-stitched zigzag stitch to prevent fraying and press the pockets toward the front of the skirt.
Now you'll need to prepare and assemble the waistband. First, fold the waistband piece in half lengthwise (the widest part). Create a crease down the center of the piece. Then, fold the piece in half to align the small ends together. Assemble the pieces using a straight seam, making sure to leave an opening. This is where we'll insert the elastic.
Once the seam is complete, press the seam allowances open.
Insert the waistband inside the skirt, the right side of the waistband (so the side where there is no opening) against the right side of the garment, making sure to place the center front of the waistband with the center front of the garment, and the center back with the center back :)
Sew the waistband to the garment using a straight seam, leaving a 1cm seam allowance. Be careful to respect the direction of the pockets; they should be positioned towards the front piece. Once the seam is complete, overlock the seam allowance with a zigzag stitch.
Press the seam allowance towards the bottom of the garment and topstitch in place, respecting a seam allowance of 6mm. This seam is optional but will help the garment sit well on the body and will be much more comfortable, especially for a child's garment :)
Now it's time to insert the elastic into the waistband using a safety pin. For a skirt worn at the waist, the length of the elastic should correspond to your waist measurement, plus 6cm. However, we strongly suggest trying the garment on yourself to ensure that this length of elastic is actually the length you will need. Indeed, some elastics have a better stretch than others and this will allow you to ensure that the garment will be comfortable. Once you have confirmed the size of the elastic, you can join the ends together as shown below.
Now we will sew the hem in place :) First, it is suggested to try on the skirt to make sure the length of the garment will fit you. Once confirmed, you can overlock the bottom of the skirt using a zigzag stitch and press the hem respecting a measurement of 3cm.
All that remains is to sew the hem in place using a straight seam.
And there you have it! Your skirt is now finished :)
We hope this tutorial will help you make your own :) If you live in Montreal and need a little help, don't hesitate to come visit us at Atelier Libre ! Natacha will be happy to help you. We also have many fabrics that would be perfect for this little project :)