Make a pincushion cactus
Many of our students tell us they want to make a pincushion cactus like the ones we have in the workshop! This post is for you because today we'll walk you through all the steps and even give you the patterns to make your own cactus!
You will need:
- Our pin cactus patterns ( download HERE )
- Fabric scraps to make your cactus and flowers
- A clay pot (a mug would work just as well)
- Polyester stuffing (you can use stuffing from an old cushion)
- A needle and thread
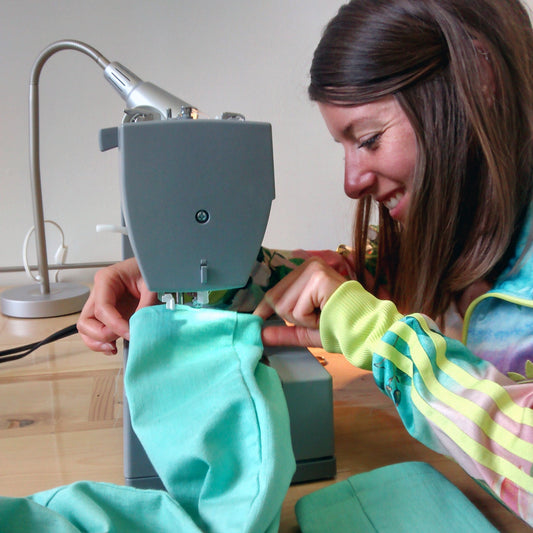
We personally machine stitched the project but hand stitching would work just as well!
First, you'll need to select a cactus model, print the pattern, and cut out the pieces! You'll find all the details on the patterns! For baby cacti, we suggest using our pattern, but you can cut out circles using plates and cups if you like... as long as they're round :)

Next, you will need to position the cactus body pieces, right sides together, and assemble the outline at 6mm, taking care to leave an opening at the bottom. For cacti made up of several pieces (including the one in the image), you will need to place a plain fabric against a patterned fabric and assemble one side at a time, starting from the center of the top of the cactus (see the notch) to the bottom. You will then need to repeat the same steps for the other 2 pieces and finally assemble the 2 sides now assembled following the same logic.

Next, it's time to notch the seam allowances if necessary before turning the cactus inside out! Press the outline of the cactus, making sure to form nice curves!

Now, lay the pressed cactus flat and draw a line down the center of it. At this point, stack your second pressed cactus flat underneath the one you drew the straight line through the middle of. You'll need to make a straight seam at this point, starting from the top of the cactus all the way down! There you go! Once the seam is complete, you'll have four separate openings to insert stuffing with a chopstick!


The main cactus is now complete! Now you need to make the round baby cacti that will decorate your pot... and give you more storage space for your pins :) Cut a circle following the measurements indicated on the pattern. To close the circle, simply hand-stitch all the way around and pull tight! Make a strong backstitch at the start of your seam and pull the thread when you get to the end. The thread will slide and force the shape to close on itself. Insert some stuffing and close the baby cactus, taking stitches on each side of the opening in turn and making a nice strong backstitch to hold everything in place! There you go, it's complete!

Now it's time to "plant" our cactus in its pot! We simply glued the base of the cactus to the pot using a few beads of hot glue, added some stuffing and rocks. It's quick and effective! Then, we placed the baby cacti in the spots we thought looked pretty and secured them in place with a few hand stitches!

Now it's time to decorate our cactus with some flowers! First, we'll need to cut out circles using serrated scissors, which will give a nice texture while preventing the fabric from fraying!

Next, draw perpendicular lines in the center of one of the circles, overlap the two pieces and make a straight seam on each of the lines to join the 2 layers of fabric together!

Once the 2 pieces are assembled, you will need to make a hand stitch in the center of each "quarter" of the flower, taking only the thickness of the top. To close the flower, insert the needle in the center of the flower (at the intersection of the lines) from the top to the back of the flower and pull the thread... the flower will form automatically. You can now assemble it to the cactus using a few backstitching stitches.


And here are our cacti!


Feel free to send us photos of your pincushions... we love flowers :)